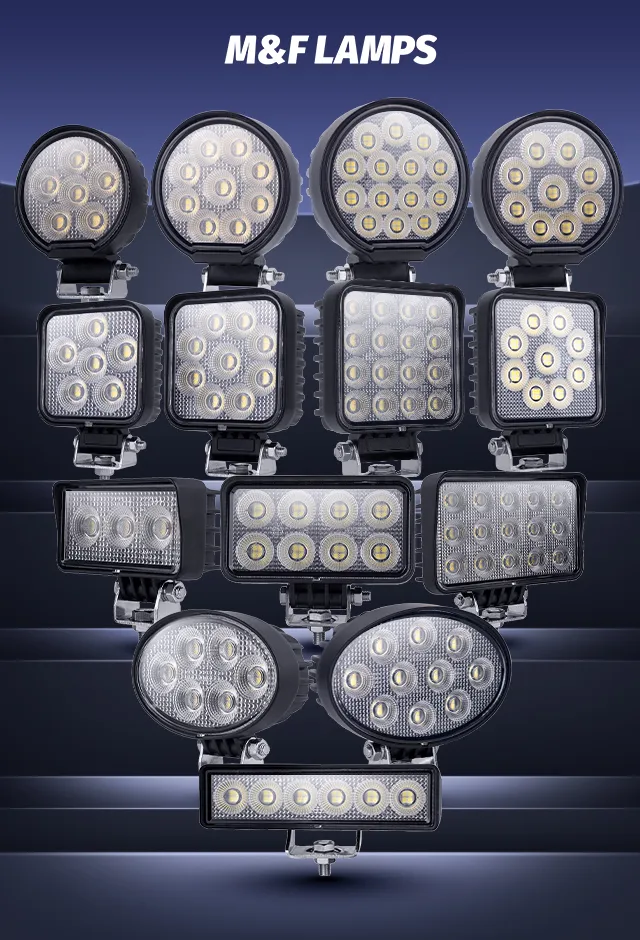
John Deere tractors are known for their reliability and performance, but like any machine, they can benefit from upgrades. One of the most impactful and cost-effective upgrades you can make is switching to LED lights. LED lights offer superior brightness, energy efficiency, and longevity compared to traditional halogen or incandescent bulbs, making them a smart choice for any John Deere owner. This guide will walk you through the process of upgrading your John Deere tractor to LED lights, step by step.

Why Upgrade to LED Lights?
Before we dive into the process, let’s quickly recap the benefits of upgrading to LED lights:
- Increased Brightness: LEDs provide significantly more light output, improving visibility during nighttime or low-light conditions.
- Energy Efficiency: LEDs consume less power, reducing the strain on your tractor’s electrical system and saving fuel.
- Longer Lifespan: LEDs last much longer than traditional bulbs, reducing the need for frequent replacements.
- Improved Safety: Enhanced visibility improves safety for both the operator and those around the tractor.
- Modern Look: LED lights give your tractor a modern and updated appearance.

Tools and Materials You’ll Need:
- LED Replacement Lights: Choose high-quality LED lights that are specifically designed for John Deere tractors. Ensure they are compatible with your tractor model and the specific light fixtures you are replacing (e.g., headlights, work lights, taillights).
- Socket Set/Wrench Set: You’ll need a set of sockets and wrenches to remove the existing lights and install the new ones.
- Screwdrivers: A set of screwdrivers (both Phillips and flathead) will be necessary for removing and installing screws.
- Pliers: Pliers can be useful for gripping and manipulating wires and connectors.
- Wire Strippers/Crimpers: If any wiring modifications are necessary, you’ll need wire strippers and crimpers.
- Electrical Tape/Heat Shrink Tubing: To insulate and protect any exposed wires.
- Multimeter (Optional): A multimeter can be helpful for testing voltage and continuity.
- Work Gloves: To protect your hands.
- Safety Glasses: To protect your eyes.

Step-by-Step Installation Guide:
- Preparation and Safety First:
- Disconnect the Battery: Before starting any electrical work, disconnect the negative terminal of the tractor’s battery to prevent electrical shock and damage to the electrical system.
- Consult Your Tractor’s Manual: Refer to your John Deere tractor’s service manual for specific instructions and diagrams related to lighting.
- Remove the Old Lights:
- Locate the Lights: Identify the lights you want to replace (e.g., headlights, work lights, taillights).
- Remove the Lens or Housing: Use the appropriate tools (screwdrivers, sockets, wrenches) to remove the lens or housing that covers the bulb.
- Disconnect the Bulb: Carefully disconnect the old bulb from its socket. This may involve twisting, pulling, or releasing a clip.
- Inspect the Socket: Check the socket for any signs of corrosion or damage. Clean or replace the socket if necessary.
- Install the New LED Lights:
- Connect the LED Light: Connect the new LED light to the socket. Ensure the connection is secure and properly aligned. Most LED lights are plug-and-play, but some may require minor wiring adjustments.
- Wiring (If Necessary): If the LED light requires wiring, use wire strippers to expose the wires and crimpers to connect them. Ensure proper polarity (positive to positive, negative to negative). Use electrical tape or heat shrink tubing to insulate the connections.
- Test the Light: Before reassembling the lens or housing, temporarily reconnect the battery and test the LED light to ensure it’s working correctly.
- Reassemble and Secure:
- Reinstall the Lens or Housing: Carefully reassemble the lens or housing, making sure it’s securely fastened.
- Repeat for All Lights: Repeat the process for all the lights you want to upgrade.
- Final Testing and Adjustments:
- Reconnect the Battery: Reconnect the negative terminal of the tractor’s battery.
- Test All Lights: Turn on all the lights to ensure they are working correctly.
- Adjust the Aim: If necessary, adjust the aim of the headlights and work lights to ensure optimal visibility.

Tips and Considerations:
- Choose the Right LED Lights: Select LED lights that are specifically designed for agricultural applications and are compatible with your John Deere tractor model. Look for lights with a high lumen output, a wide beam pattern, and a durable construction.
- Polarity Matters: Pay attention to the polarity of the LED lights. Connecting them incorrectly can damage the lights or the tractor’s electrical system.
- Wiring Connections: Ensure all wiring connections are secure and properly insulated to prevent shorts and corrosion.
- Seek Professional Help: If you are not comfortable working with electrical systems, consider seeking professional help from a qualified mechanic or electrician.

Conclusion:
Upgrading your John Deere tractor to LED lights is a worthwhile investment that can improve safety, visibility, and efficiency. By following these step-by-step instructions, you can easily upgrade your tractor’s lighting system and enjoy the benefits of LED technology. Remember to prioritize safety and consult your tractor’s service manual for specific instructions. Happy upgrading!
Disclaimer: This guide is for informational purposes only. Always consult your tractor’s service manual and follow proper safety precautions when working on your tractor.

